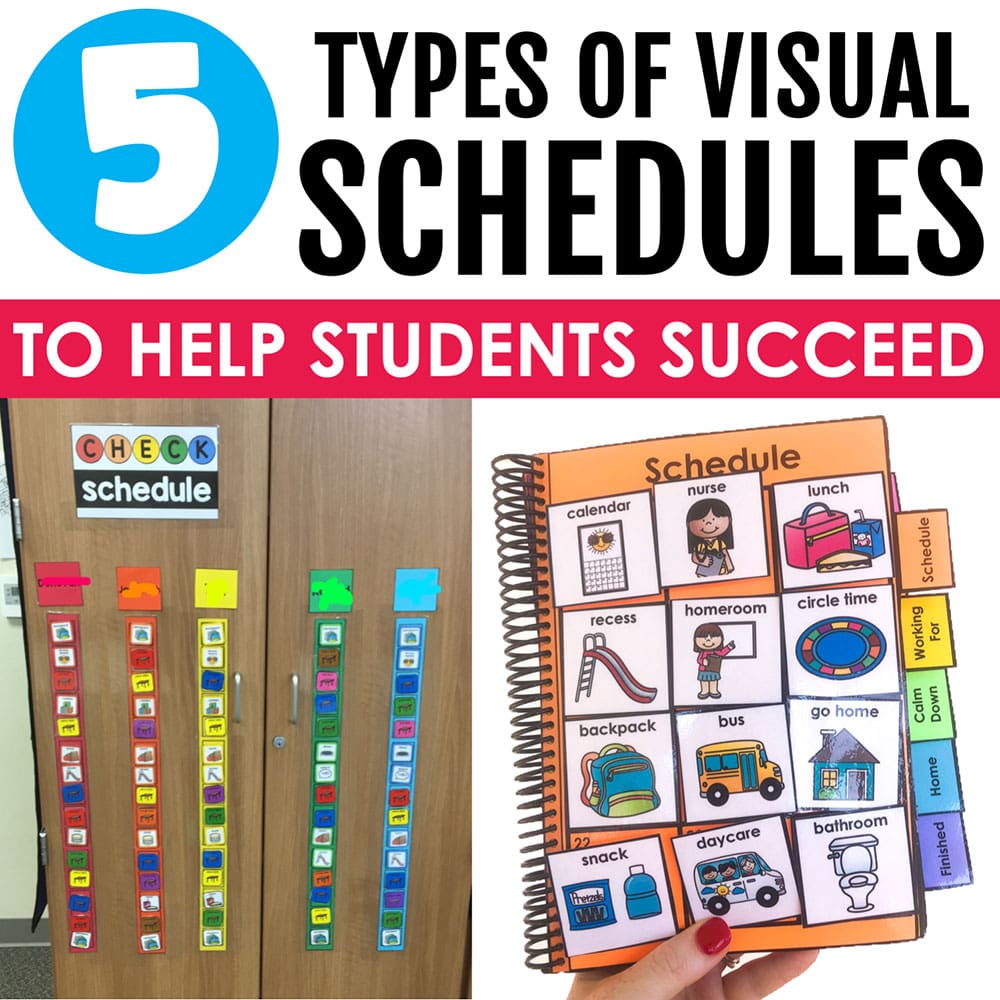
Implementing visual schedules in my classroom was a pivotal moment for us.
Humans crave routine. There is a sense of comfort in knowing what to expect next. Visuals, schedules, and checklists can help provide that structure.
Even adults benefit from visual schedules. I never embark on a grocery trip without a list. Having the list of items helps me navigate the store more efficiently and ensures I do not forget ingredients.
I also feel more productive and stay on-task with a daily to-do list. Checking off completed activities gives me a sense of accomplishment.
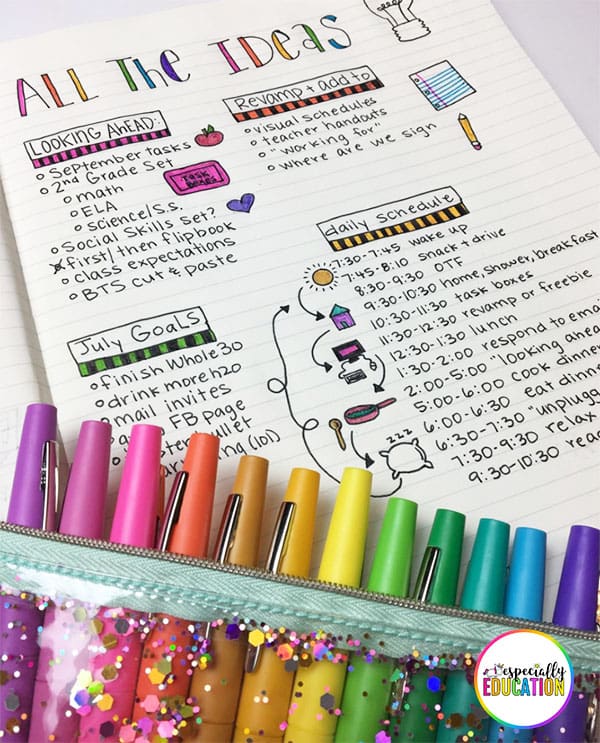
There are many types of visual schedules out there. What works for one student might not work for another. The good thing is you can use multiple strategies in your classroom.
Object Schedule
Object schedules are perfect for early learners and students with visual impairments. They provide a basic schedule using concrete objects to represent different activities or transitions. For example, a pencil might indicate it is time for writing, and a paintbrush might mean it is time to transition to art class. The meaning of each object within the schedule (especially the more abstract objects) must be explicitly taught and practiced over and over. Run through each transition with the student, physically touching the items and modeling the expectations that come with each schedule change.
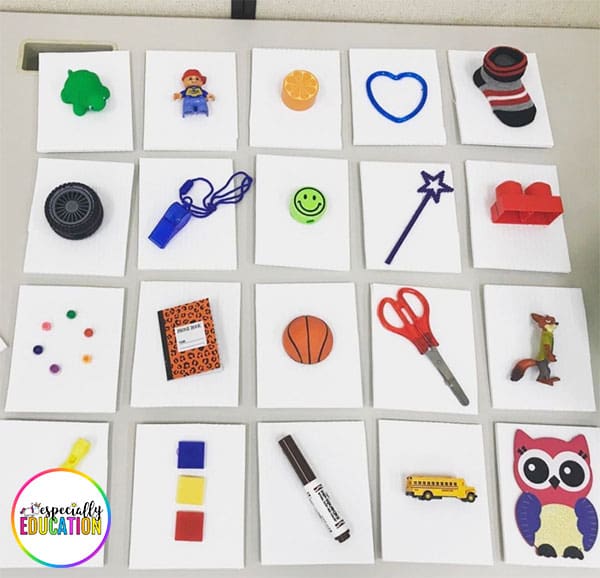
For this object schedule, Cassidy (@cassidyteach) raided the dollar stores and party city for these supplies and attached the items to a corrugated plastic board with hot glue and zip ties. She included a picture of the visual on the back when the students begin transitioning, using a picture schedule to help them make that connection.
First/Then Boards
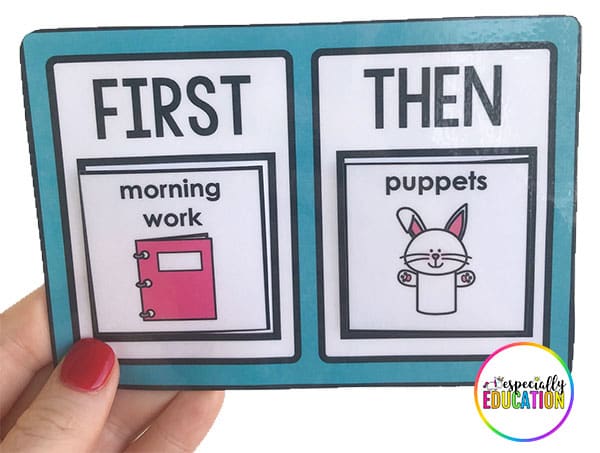
First-then boards are simple: the task at hand is displayed in the “first” column, while the next activity is displayed in the “then” column.
When first teaching the expectations of the first/then board, pair the “first” activity with a highly preferred reinforcer. Once the first task is completed, the second activity should occur immediately after. (You can grab this first/then board here, which comes in 14 color-coded versions, as well as black and white).
Wall Schedule
Wall schedules are becoming increasingly popular in self-contained classrooms (and for good reason!). They are easily accessible to the students and are simple for teachers and paraprofessionals to reset each day. My classroom was run in 15-minute intervals. When the timer sounded, the students knew to check their schedule and transition to the next activity.
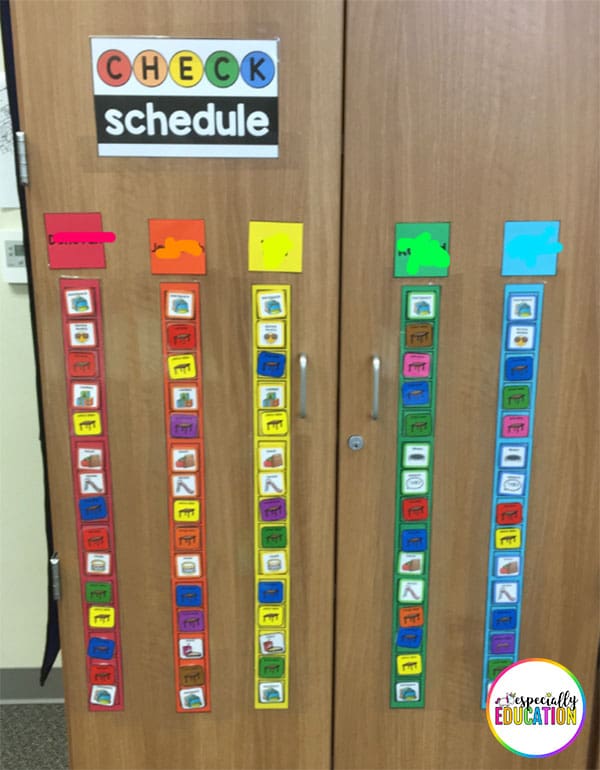
Binder Schedule
I transitioned my older students to notebook schedules. This portable option was practical and convenient for students when they traveled to different settings throughout the school. I used the same visuals as my wall schedule; however, this was more discrete and could be taken from place to place within the room or the school.
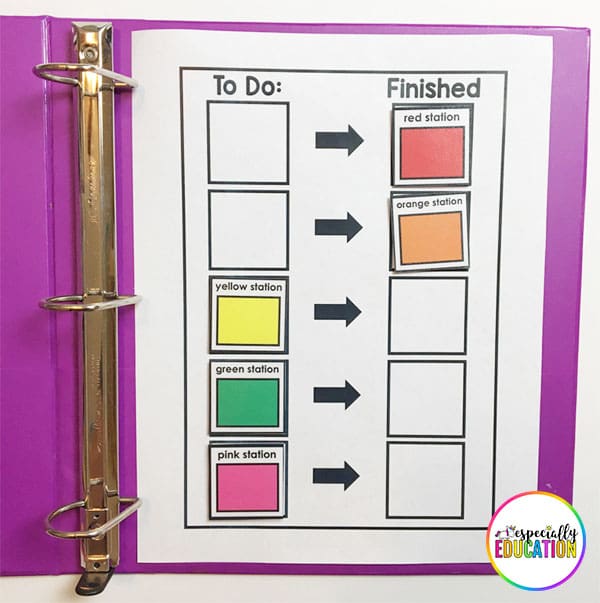
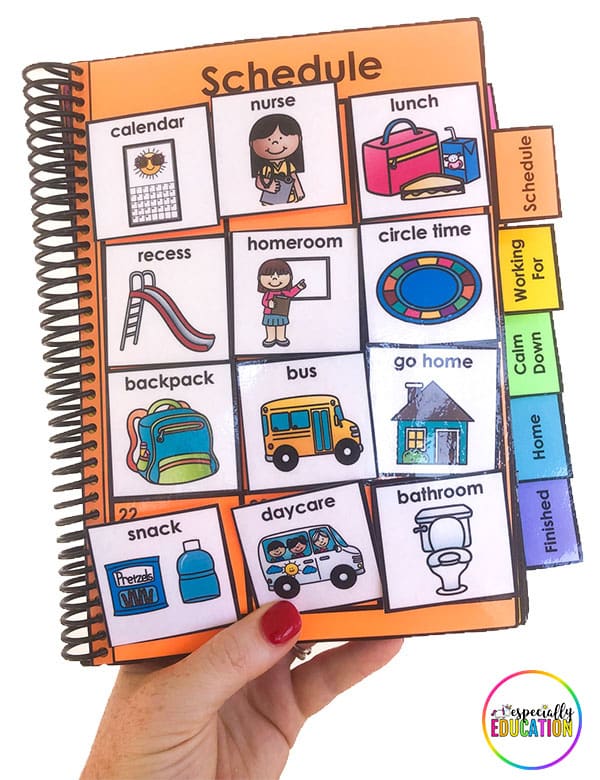
Like notebook schedules, my best-selling product (which came to fruition two days after the idea) is a First/Then Visual Schedule flipbook. It’s editable, portable, and has been used in the classroom, therapy sessions, and even at home with parents.
This editable flipbook comes with over 200 icons for your daily schedule, reinforcers, calm-down strategies, and icons to be used in the student’s home.
Checklist Schedules
Visual schedule checklists are discrete, effective, and easy to transport. I make mine using a table in PowerPoint and then laminate it or put in a page protector. The student is required to check off each activity with a dry-erase marker as it occurred. Eventually, pictures can be removed, and only text is used. These are great for students who can read.
Tip: have the student be accountable for their schedule by checking off each activity as it is completed (page protectors and dry-erase markers are ideal for this!)
Are you using any of these visual schedules in your classroom? Tell me in the comments!
Leave a Reply