
Special education prep work is daunting! Time spent laminating, velcroing, and organizing materials takes up way too much personal time for special education teachers, self-contained teachers, speech therapists, homeschool moms, parents, autism parents, preschool teachers. Reclaim your time and energy and alleviate stress with these 9 SPED prep hacks to help you streamline your prep and prioritize your to-do list.
SPED PREP: a necessary evil in the world of special education.
Pros: Finding appropriate learning materials for every student that, once laminated, can be used for years to come.
Cons: Adapting and differentiating activities can be time consuming and daunting.
Here are a few tips for making the prep process less overwhelming!
1.) Make a list and prioritize
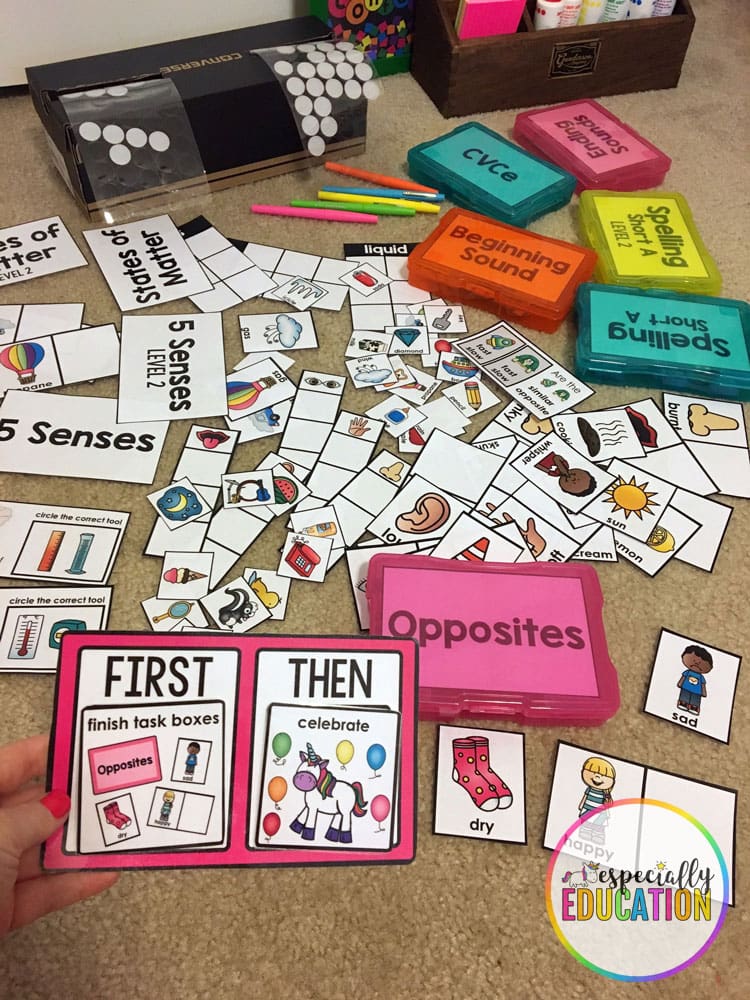
So you just purchased and epic task box bundle on Teachers Pay Teachers! You’re super excited – this is going to solve all your independent work station problems! You download the 200-page PDF and it hits you: this could take days –even weeks— to prep, and you needed these CVC matching clip cards, like, yesterday.
Do not fret. Make a list and prioritize items by need.
What will benefit your students right away?
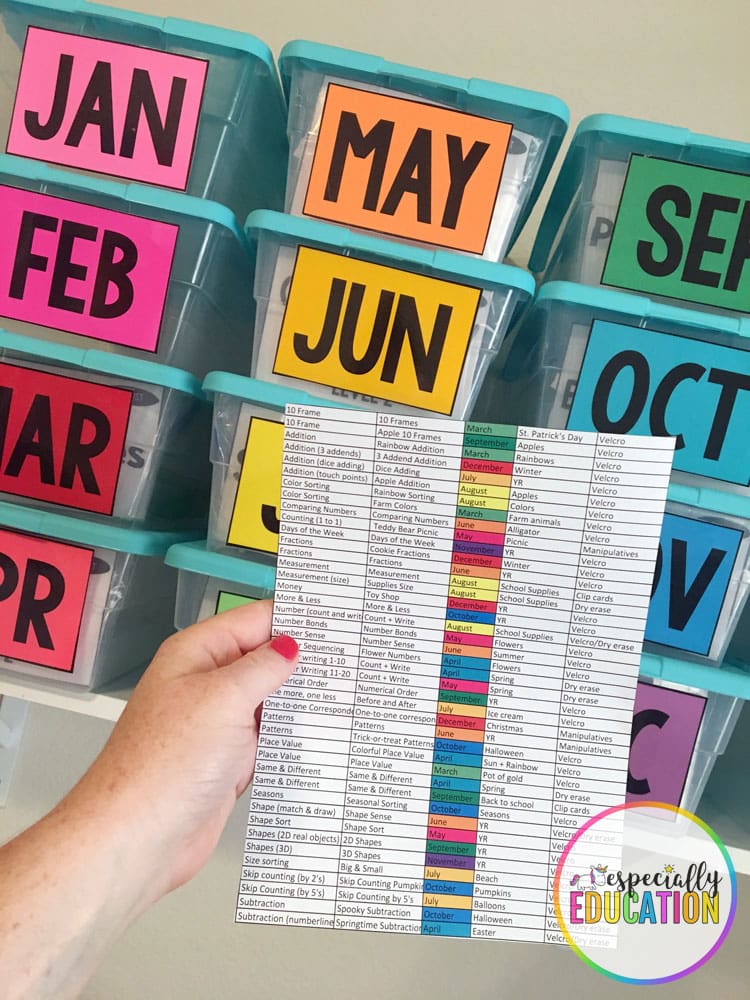
Printing and prepping smaller amounts makes prep less daunting and keeps things more organized. Start small and build your “SPED tool box” as you go.
 2.) Ask for help
I will be the first to admit it: I am a bit of a perfectionist. I like my cut lines clean and precise. The thought of crinkled lamination makes me lose sleep at night. My fear of imperfect resources prevented me from asking for help for many years. But sometimes, you have to let that go and seek assistance. You can’t do it all, and there is no shame in that.
 Have a prep party with your paraprofessionals during planning time. Ask a sibling/partner/parent if they would like to cut some lamination in exchange for a coffee date. Many schools even have parent volunteers looking to lend a hand!
3.) Gather your supplies
Before you purchase any supplies out of pocket, check and see what your school budget allows provides. My team leader always made sure we had basic supplies, such as hard laminating pouches, Velcro, binding coils.
Here are just a few of my favorite SPED prep materials:
- Personal laminator (file folder size)
- Laminating pouches
- Velcro coins (save your scissors and avoid cutting!)
- Spring-loaded scissors
4.) Organize your supplies
I use a large milk crate and tub to keep my materials organized. I also like having a designated trash bin close by, to keep the scraps from piling up on my floor. You can grab my free prep station labels here!
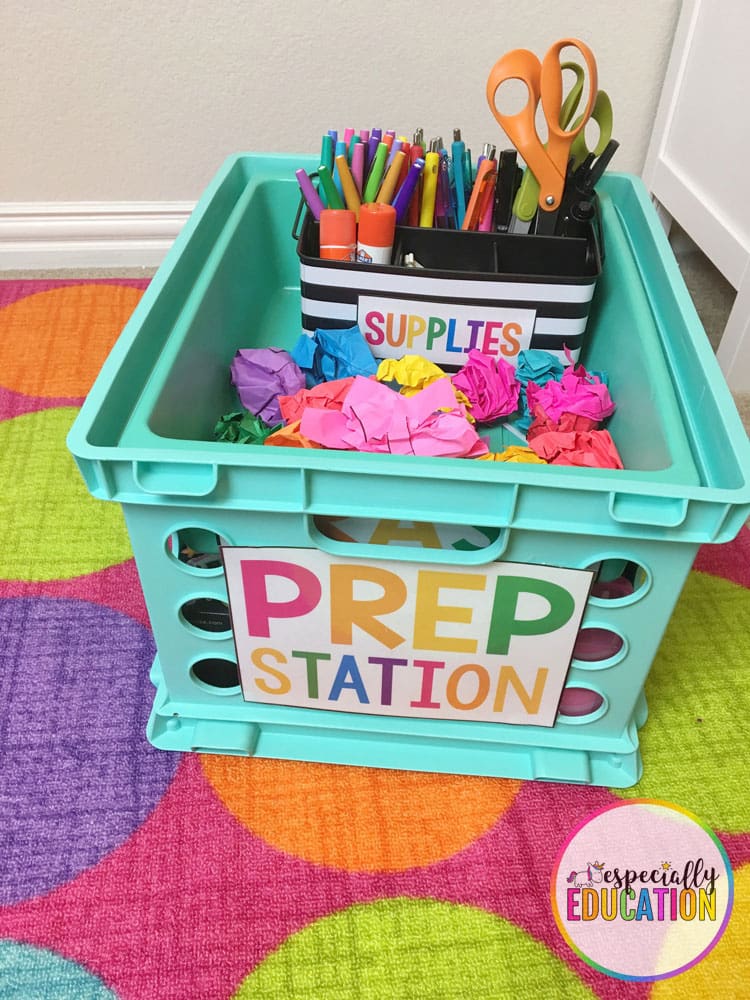 *BONUS: making it portable is a must Because who doesn’t love to prep task boxes in front of this week’s episode of This Is Us??
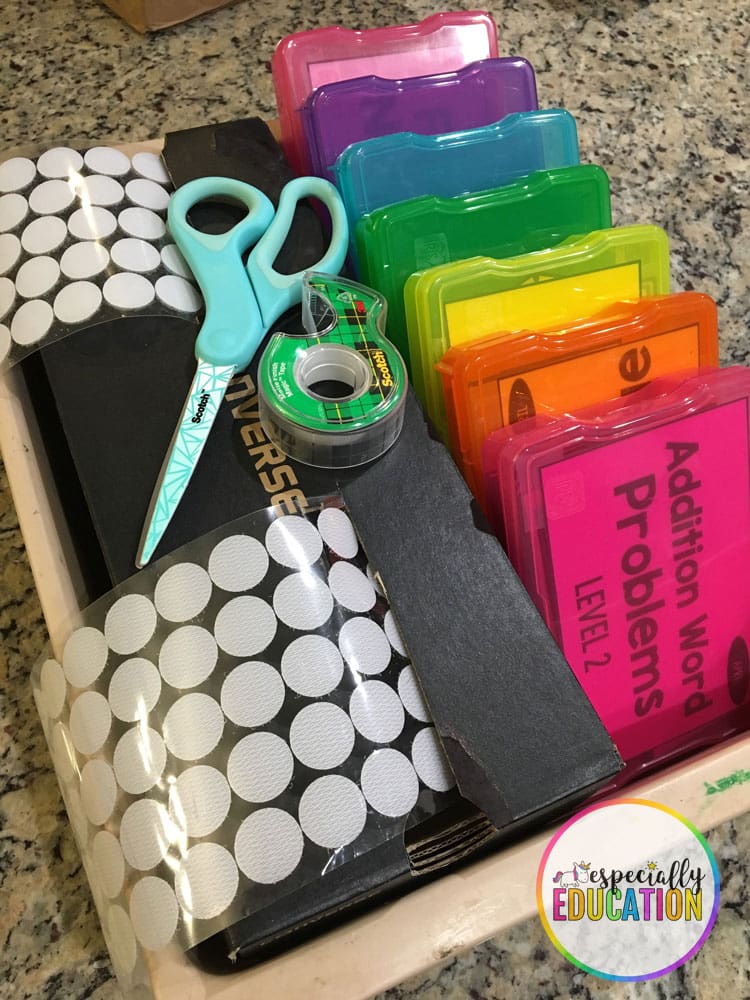 5.) Make a Velcro dispenser
Finding off-brand Velcro coins was a game changer for me, but the rolls can often get tangled. This prevents the soft coins from sticking to the hard coins (which can waste some good velcro coins!), I cut slits in an old shoe box and slid the velcro rolls directly into the slits. 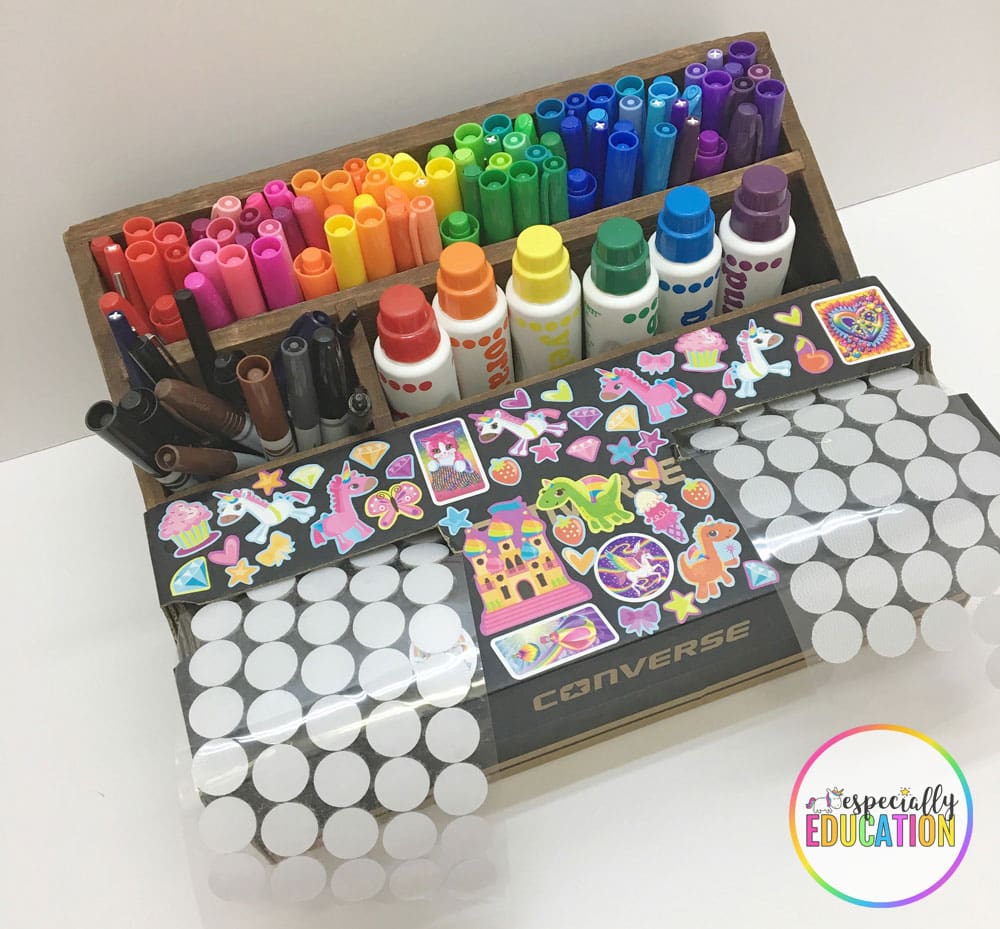
6.) To cut first, not to cut first?
Ahh, the age-old SPED prep question. I am asked this often: do I cut, laminate, and cut again or do I just laminate the entire page and then cut once?
Honestly, this is a personal preference. I like efficiency, so I laminate and cut only once. But it depends on a few things:
- Your laminator: some laminators get hotter than others, providing a stronger seal around the paper.
- How much wear-and-tear are the items getting? Cutting first allows for a better seal around the pieces, thus making them more durable over time.

7.) Use a glue stick for small pieces
If you are cutting first, use a glue stick to adhere small pieces directly to the inside of the laminating pouch. This prevents the small pieces from sliding around and overlapping. You can also fit more pieces into a pouch by placing them directly where you want them.
8.) Stick velcro to pieces before cutting
If you are cutting out multiple small pieces that require velcro on the back, place the velcro onto the laminated sheet of paper before cutting. Holding the paper up to the light can help you see where to put the velcro.
9.) Be forgiving.
This may be the most important step on the list. There are so many stressors in this profession. Please don’t beat yourself if you don’t cross off every task on your to-do list. Progress, not perfection. Know when to take a break, walk away from the laminator, and sink into a nice, warm bubble bath.
Marjorie Pearce says
Thank you so much for the velcro “dispenser” idea. Brilliant! This will definitely help to lower my blood pressure : -)
Nichole says
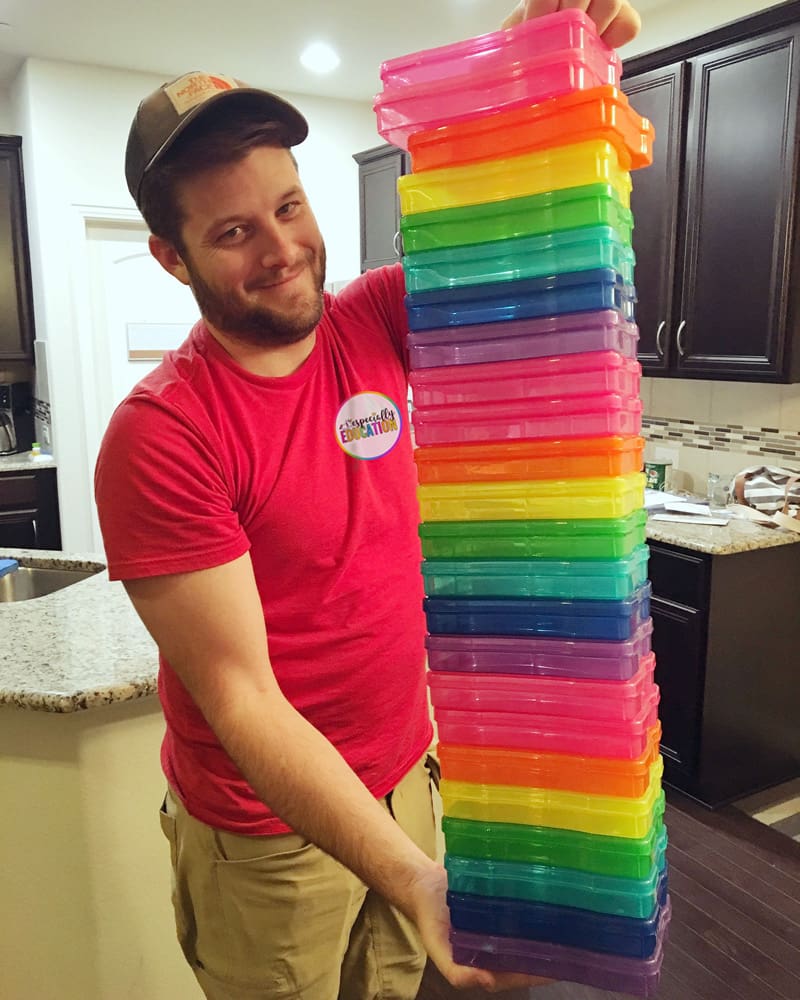
Where do you find the clear, colored plastic task containers? I’ve never seen any that size and shape. I love that they aren’t bulky and huge!
Neva says
Which Laminator do you use? The link just said page not found. I am looking to buy one so I can laminate file folders at home. Thank so much.
Michaela Davis says
I can’t remember which one is posted, but Scotch TL901C-T is one I’m using now.
Ron says
The task boxes are from Michael’s. They’re called: rainbow photo and craft keeper by simply tidy
Ron says
The task boxes are from Michael’s. They’re called: rainbow photo and craft keeper by simply tidy
https://www.michaels.com/rainbow-photo-and-craft-keeper-by-simply-tidy/10468242.html
Camille says
Where did you get the transparent colored containers from?? I’ve been searching for smaller containers and can’t find good ones that are multicolored.
Michaela Davis says
Hi! These are called “craft and photo keepers” and can be found at Michaels and other craft stores, Amazon, WalMart, etc!
Cindy says
I got mine at Hobby Lobby . It is called photo and craft keeper. A set of 14 colorful containers come in a clear plastic storage box. The price was $ 24.99 but it was on sale when I got mine and with a teacher tax exempt. card it was even cheaper. Hope it helps. Try a craft shop.
Crystal says
Which thickness of laminating. pouch do you prefer?